Below is a list of services we offer. You can scroll down to view all services or use the drop box to go directly to a particular service. Pressing the red arrow buttons will bring you back to the top of the page.
Align honing is the best method for precision alignment of main bearing bores. Promar uses the Sunnen CH-100 machine for all of its benefits and features, as we can minimize stock removal, usually less than .003" (.076 mm) off the caps compared to as much as .010" (.254 mm) with boring.
Use of this machine maximizes precision and corrects distortion caused by warpage and cap stretch. This align hone procedure exceeds original factory accuracy for alignment, roundness and size.
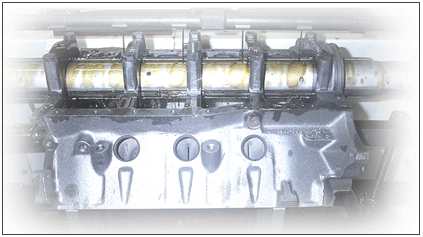 Engine Block Align Honing Process
A complete visual inspection of the block is performed. Repairs will be made to minor casting defects, removal of broken bolts are performed as well as repair and tapping of threads. Gasket surface repairs are performed to minimize stock removal and each block is fitted with new full circle cam bearings, oil restrictors, relief valves, new water and oil plugs
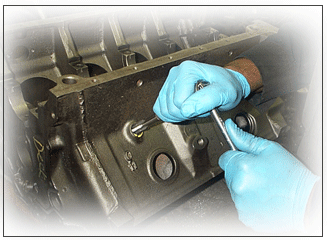 Engine Block Preparation
Using the various traditional welding methods, crack repair on cast iron components is risky, to say the least. Even though the piece is prepped and cleaned and most of all properly heated prior to the repair, the possibility exists that uncontrolled temperature change can warp, stretch or cause other cracks and even alter the hardness of the metal. You can create more damage than you are attempting to repair.
Unlike heat driven crack repair Promar employs lock and stitch technology. This system provides a permanent repair using a method called metal stitching. Our prep technicians have been educated in every aspect of this craft. Individually installed, each stitch pin's threads draw both sides of the crack together making an absolutely perfect seal.
Another positive aspect of this patented system is that the repair has been done successfully without changing the geometry of the piece, no trauma, and the integrity of the piece has not been compromised.
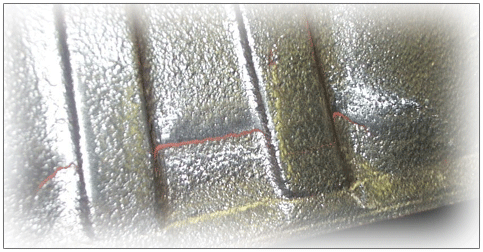 Cracked engine block prior to repair
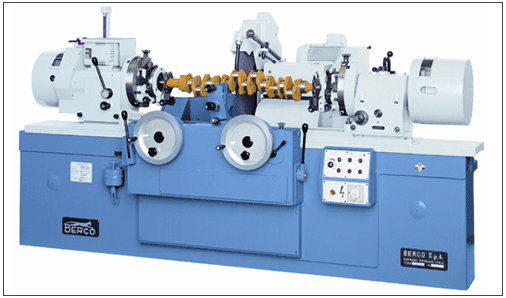
Continuing our efforts to produce the best and most reliable product in the industry, we utilize the Berco RTM 225A precision crankshaft grinder. Coupled with our expert craftsmen, this state-of-the-art unit incorporates rigid construction and precise controls; affording Promar customers the most accurately ground crankshafts possible. Precise controls afford precision grinding, which is followed up by brush cleaning and chamfering of all oil passages.
 Magnetic Particle Inspection Process
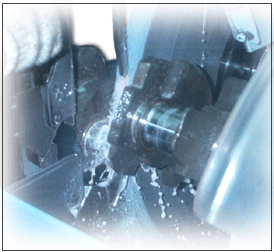 Crankshaft Grinding
Magnetic particle inspection is the most definitive methods of detecting cracks and imperfections in any ferrous engine parts. This procedure assures the highest quality crankshaft cores for remanufacturing.
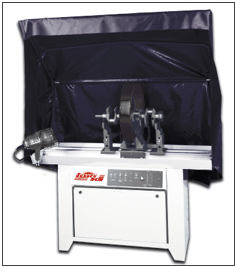 DCM 2400 Magnetic Particle Inspection Machine
Promar employs the Rottler F54X boring bar with its large diameter and hard chromed spindle. This spindle is supported on adjustable tapered bearings for superior accuracy. The F54X uses a precision ground ball screw to control feed rate and cutter position. By controlling these factors the machine can repeat cutter position accuracy to .0002" (.005mm). With its digital programmable cycles, the F54X allows boring depth to be programmed to .0001" (.0025mm).
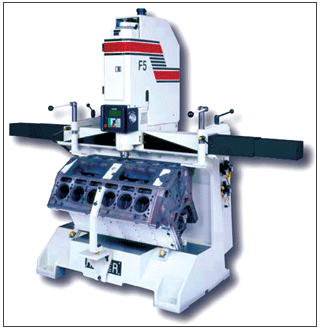 Rottler F54X Cylinder Boring Machine
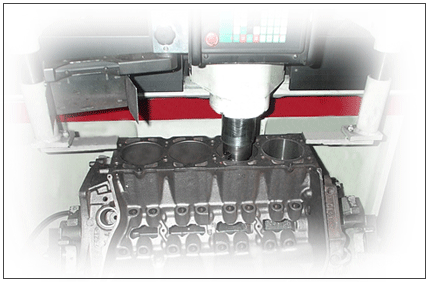 Engine Block Boring Process
Promar Engines continues to keep their name as the best engine builder in the business. Promar is the first company in the world with Rottler's newest cylinder honing machine. We have upgraded from Sunnen's SV-10 honing machine to Rottler's H85AXY fully automatic high production diamond cylinder honing machine, which is unlike any other honing machine in the industry. This machine is the most accurate honing machine available with cylinders finishing within .0001" roundness and straightness. This automatic honing machine takes any potential operator error out of the equation. Rottler's H85AXY allows you to select desired cross hatch angle for a perfect finish for all applications. It also allows for sensitivity control and stone wear. As the machine hones, it shows the profile of the bore graphically as it continuously analyzes the bore and senses taper anywhere in the cylinder - top, middle or bottom and automatically dwells or short strokes as programmed, correcting the tight area. As engines continue to get more complex, oil clearances and machining tolerances continue to become even more critical. The only way to keep up with evolving engine designs is to use every piece of technology available to us. There is no question why Promar continues to be the best remanufactured engine in the industry. Make sure your engine block is machined by the best machine available, you won't be disappointed.
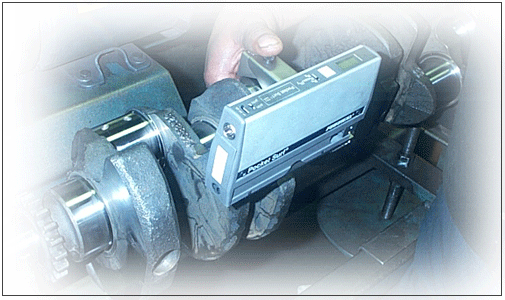
Promar insures proper measurement of RA by utilizing the Mitutoyo SJ-301 twice, once after honing and again before final assembly. Final assembly and completion of engine block remanufacturing is not started until all blocks go through a final wash.
 Rottler H85AXY CNC Honing Machine
Promar's digitally controlled balancer is extremely accurate, producing precise balanced crankshafts, it has the ability to measure unbalance from .01 to 1,000 grams on work pieces weighing up to 500 lbs. (226kg). This process using the Sunnen DCB 2000 is optional for this application.
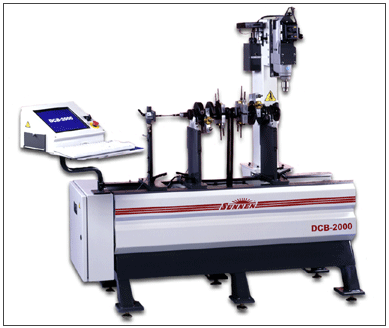 Sunnen DCB-2000 Crankshaft Balancing Machine
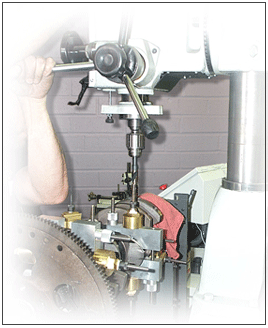 Crankshaft Balancing
Magnetic particle inspection is the most definitive method of detecting cracks and imperfections in any ferrous engine parts. This engine block magnafluxing procedure assures the highest quality cast iron blocks. The next process is pressure testing, but first, let us explain how aluminum blocks are cleaned, pressure tested and checked for casting defects.
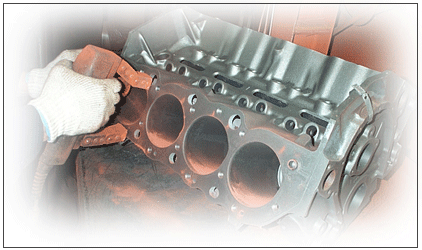 Engine Block Crack Detection Process
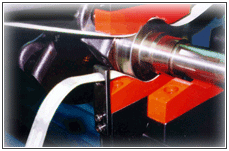
Promar uses a crankshaft micro-polisher with a rigid polishing system. The QPAC Q190-38-3 has a solid abrasive tape that wraps around the journal and is backed up with a shoe. This shoe applies equal pressure all the way around the journal while it is being polished.
Traditional polishing techniques use a manually operated belt sander that can alter the geometry of the journal, slightly creating some taper or out-of-roundness. If the surface finish on the crankshaft journal is not right or the geometry is slightly off, the bearings will suffer the consequences when the crankshaft is put into service. While polishing in one direction and then automatically polishing in the opposite direction, the QPAC system leaves a better finish and eliminates microscopic peaks that can cause premature bearing failure. The finishing process always ends in the same direction as the engine rotation.
For thrust surfaces, a separate polishing arm is used. Polishing the thrust surface on the crank is important to minimize the risk of thrust failure on vehicles that have electronic torque converters.
With many of today's engines requiring extremely smooth journal finishes (as low as 6 Ra or less) because of tighter bearing clearances and the use of thinner viscosity 5W-30 motor oils, there is little margin for error. In one pass the QPAC takes the finish down to 6 Ra or less and provides a superior finish to any polishing systems out there today.
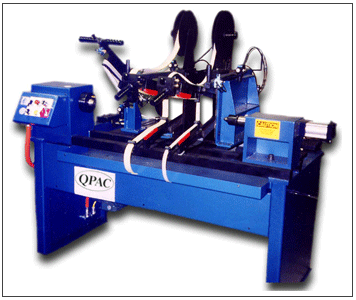 QPAC Micro-Polishing Machine
 Crank Micro-Polishing Process
 Crankshaft Ra Check
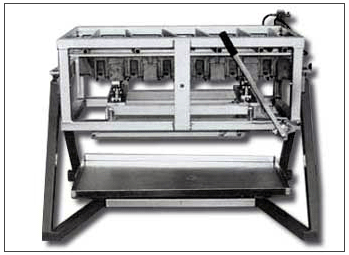
Promar uses the Delta Pressure tester to double check for pin holes after magnafluxing and dye testing are completed. Cracks and defects not detected during the first process are found at this time. This second process insures the integrity of all castings used in Promar products.
 Delta 6000 Pressure Testing Machine
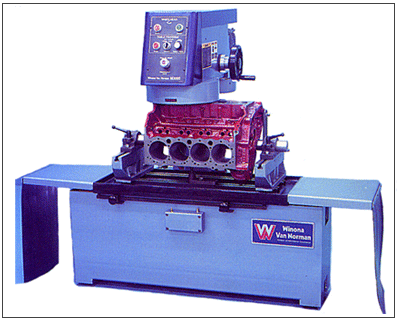
Milling machines that are used by Promar are set up specifically 1 for blocks and 1 for heads. The Winona Van Norman M3000 machines are used for their variable feed rate, which is essential to acquire proper Ra finish for each block. Ra finish determination is based on the type of block, be it aluminum or cast iron, and by the type of gasket used for each specific application. These machines utilize CBN (cubic boron nitride) cutters, which are second in hardness only to a diamond. During the cutting process heat from friction is absorbed and carried off by the discarded metal chips thus resulting in improved accuracy and excellent surface finish. The surface finish is then checked by using the Mitutoyo SJ-301. The Mitutoyo SJ-301 is utilized twice, once after resurfacing and again before final assembly Promar insures proper measurement of Ra by using the SJ-301. The next process is rod reconditioning.
 Winona Van Norman M3000 Resurfacing Machine
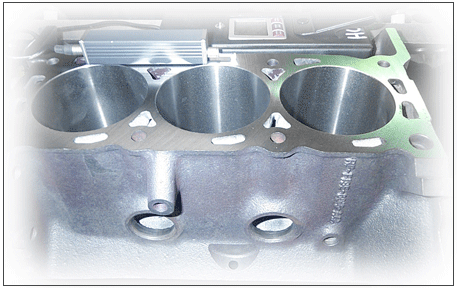 Milled Block
Our shot-blasting machine employs a cleaning method using stainless steel shot. This finishing process is used by Promar to remove surface contamination such as rust and irregularities from blocks. The result of this method is a cleaner smoother surface finish to make easy the detection of surface and subsurface casting defects during quality inspection.
To insure stress free casting, the peening process is used to impart compression strength to metal parts. This is accomplished by metal shot pellets acting like miniature ball peen hammers as they strike the entire surface of the block. All iron castings are put through this process before a preliminary inspection for defects is done. This process using the Ar HB41 is employed for cast iron blocks only and facilitates a more accurate magnetic particle inspection.
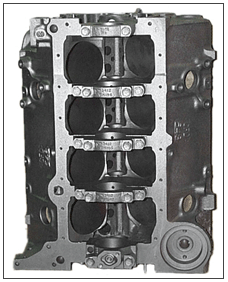 Engine Block After Shot Blasting